Wet Felting
Wet felting is the meshing together of wool fibres by agitating them in hot water and soap. Wool, silk and hair fibres have a jagged shaft which will stick to one another, this cannot be done with synthetic fibres as they are completely smooth. This method is used by crafters and artists to create clothes, shoes, hats and sculptural objects. Felting could create a wonderful body texture, hair or even limbs for a puppet.

Here is a briefish you tube video showing the technique, there are plenty more that detail creating three dimensional shapes.
Pom Pom making
Pom poms do not have to be tricky to create, you don't need plastic or cardboard donut shapes...all you need is your hand, some wool and scissors. Pom poms would create wonderful movement on a puppet for hair, eyes, feet or even a complete body. See the video below for the technique, they can be made larger or smaller by using two, three, four fingers or your complete hand.
Papier/Flour Mache Scrim
Papier mache can be used as a scrim layer on your puppet head, body or limbs. Simply form the body part with tin foil, newspaper, polystyrene, foam or use an object from around the house or a balloon.

Mix up the mache mix and pre-tear your newspaper or paper towels into small section's.
Flour mix
1 Part plain flour
1 Part hot water
1 teaspoon of salt
Sieve the flour to eliminate lumps
Glue mix
1 Part White glue
1 Part water

Work over the armature saturating each piece on your mix and smoothing it over. Flour Mache will need two layers and Papier Mache will need up to five.

Try to let the layers dry out in between coats as a thick layer will take a long time to dry. You an also pop it into the oven on its lowest setting, take care to check regularly.
The glue mix can be used with fabric to create a very strong surface that will last a long time. Theatres use this to protect the edges of their movable scenery and as a cost effective way to hard coat large props or scenic elements.
Creating a Shoulder Cradle
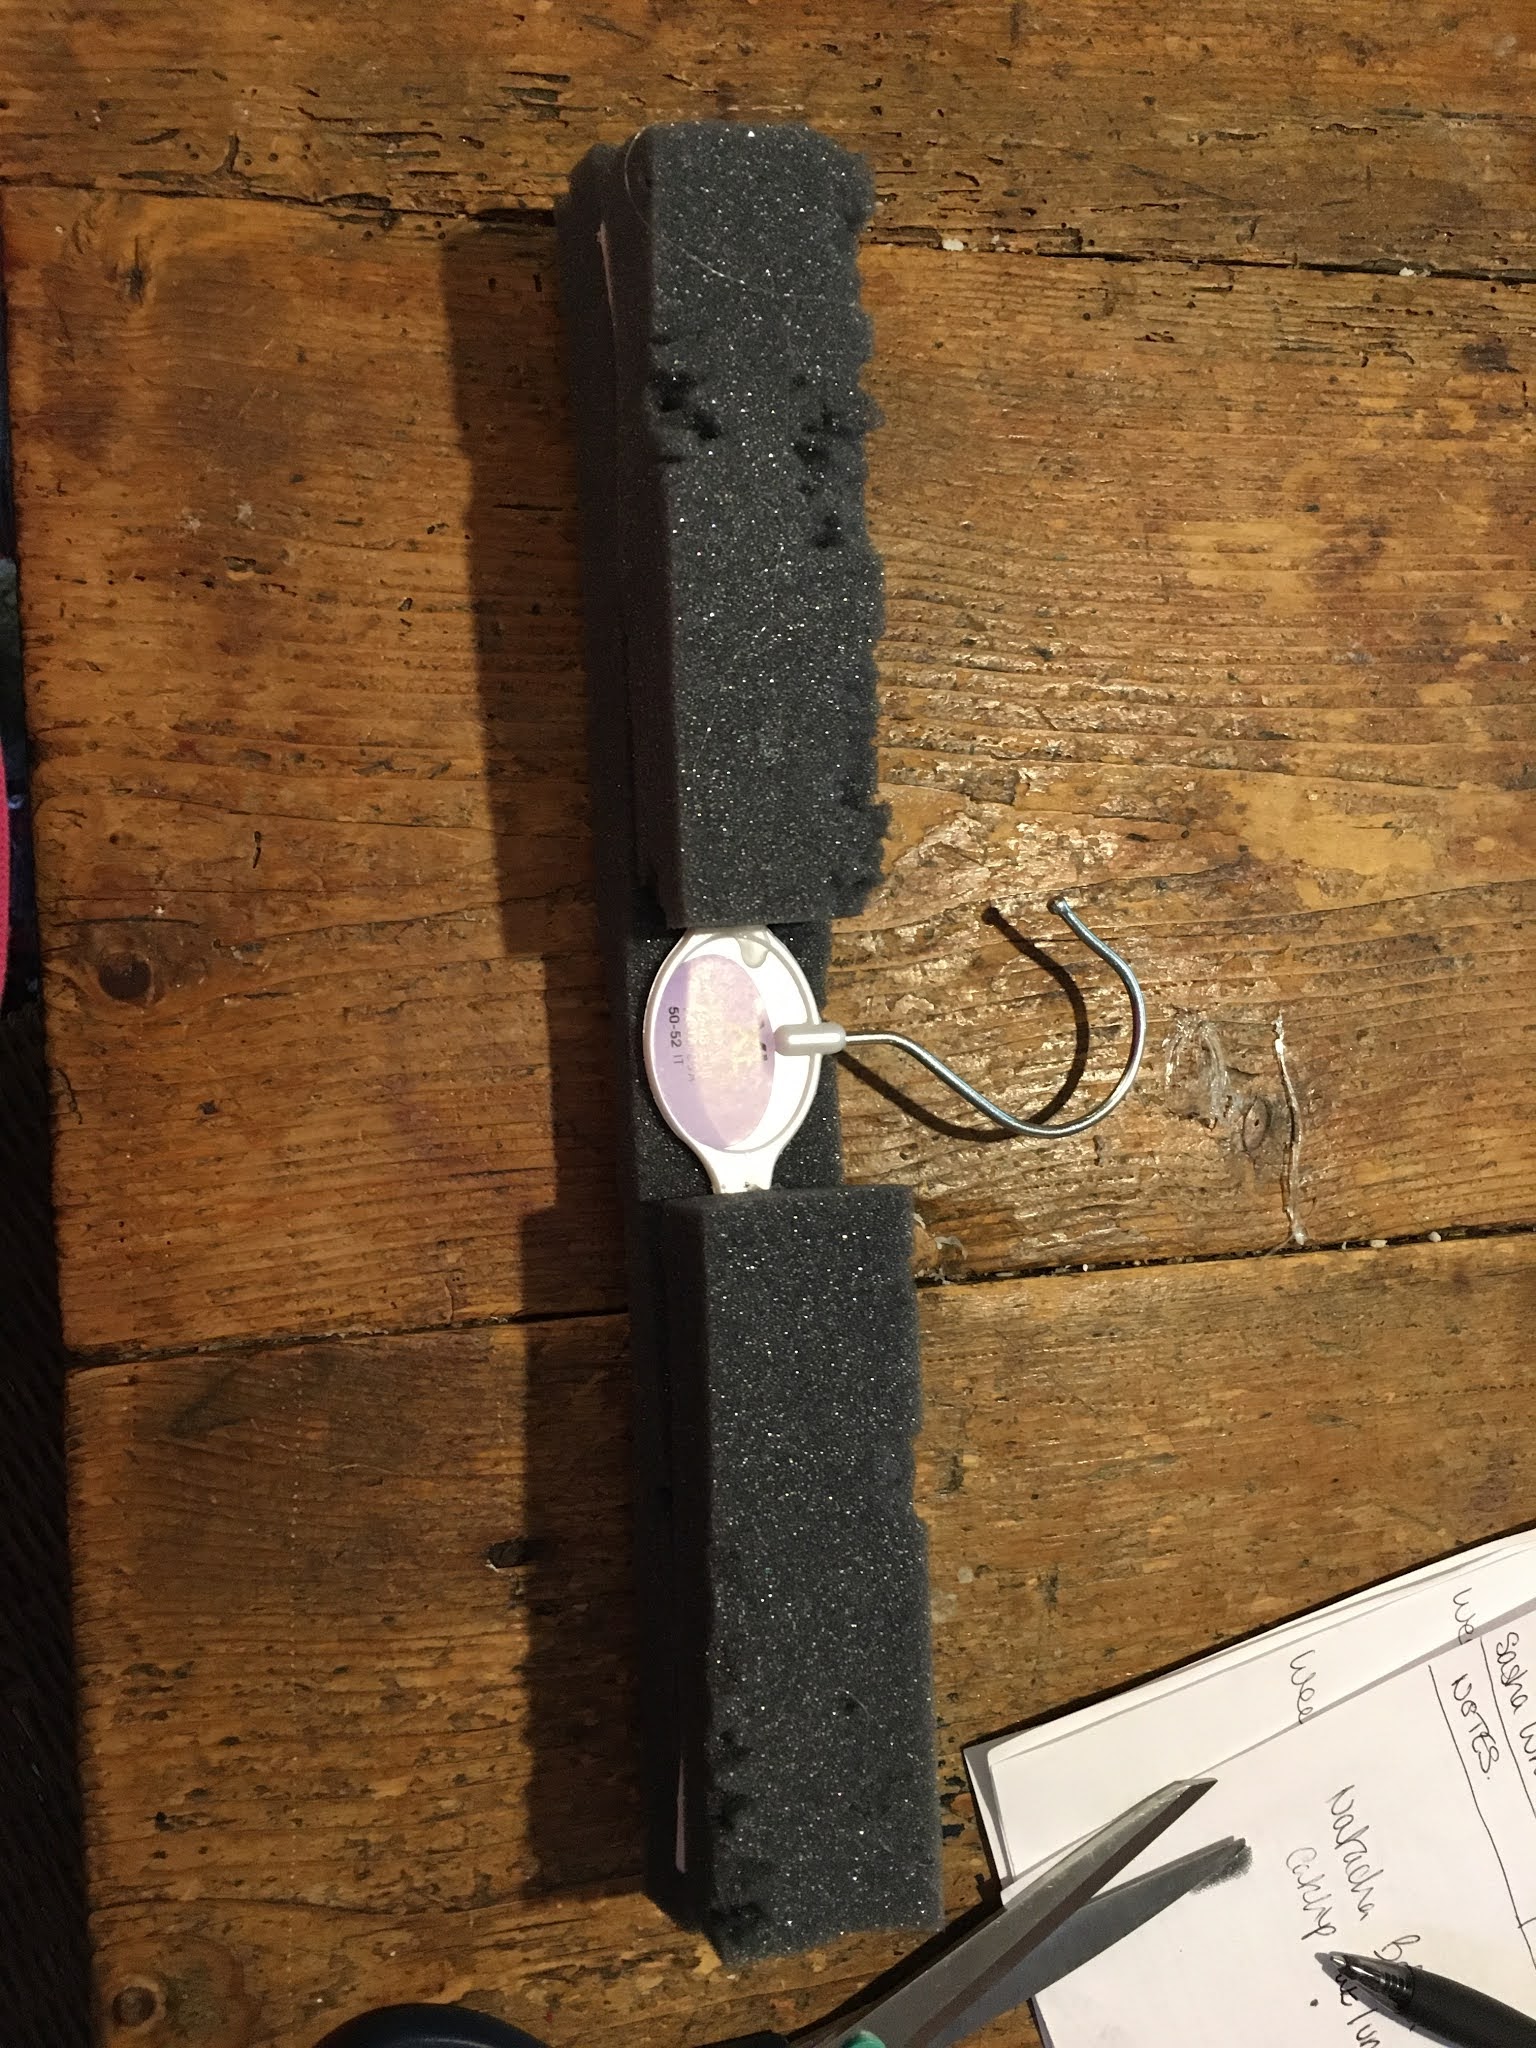

Cut the foam into shape using scissors taking


Use the hanger as a template to cut out fabric to form a cover. I have used a felt batting but tights or lycra would be equally suitable.
Put the cover over the foam and stitch or glue closed. The cradle will give you a firm base allowing you to hang arms and the body or clothes of your puppet.
Hinging the arms/legs
Whatever type of puppet you are creating it will need to move convincingly. Hinging its joints correctly will help enourmously.
Soft Hinges


Video to show the range of movement created by these hinges.
Making Hands
There is more than one way to make a successful pair of hands and the method you choose will depend on how you want to puppeteer. Whatever the construction always ensure that the hand has a life of its own before you even move it, partially curl the fingers to suggest movement and then even if the hand and arm are just hanging by your puppets side there will be the suggestion of life.
Wire Armature

https://modelshop.co.uk/Shop/Item/Aluminium-wire-soft/ITM2110
 Form the outline of the hand and fingers with the wire and secure it off.
 Start to build up the wire around the palm of the hand by wrapping, weaving it around the fingers.
 Work up and down each finger as you build the layers.
 The finished wire hand. This would not be ideal for a finished hand unless it was incredibly stylised so normally wire is covered. It can be covered with a hard finish such as supersculpy or two part epoxy or a soft and flexible finish such as silicone which will allow the wire to remain poseable.
 Ours will be covered in fabric, ultimately flesh coloured tights so I am going to need to change the base colour and smooth the whole thing out.


I'm creating the first layer by stitching on thin wadding. The hand is easy to stitch through and you can get a nice tight well anchored finish.

 Nearly finished the base layer.
Supersculpy


Supersculpy

It can either be used in a block which can be quite heavy or over an armature (such as wire or tin foil) to create a thinner skin.
 It requires warming up by working it in your hands to get to a good state. Fine details are easily achieved with sculpting tools and it is easy to pose your hand.
 As you can see the hand has a slight curve to the fingers to give it the illusion of movement.
 Before baking I have made a hole to allow me to attach the hand to the puppet arm.


This piece was just shy of 2cm thick so I baked it in the oven for 45mins.
Thermoplastic beads
Thermoplastic beads


The hand is very robust but hasn't got a large amount of detail and is quite heavy.
Foam


No comments:
Post a Comment